How to Prepare a Site for Pouring Concrete

Is Honed Concrete Suitable for Outdoor Use?
August 5, 2020
How to Handle Concrete Dust When Cutting Liquid Limestone
September 28, 2020When it comes to a successful concrete project, site preparation is of utmost importance. This prevents potential cracks from forming in the finished concrete slab and ensures a stable foundation for the project to sit on. Site preparation includes removing weak materials from the surface, evaluating the sub-grade, selecting the right materials for fill, and more. Read on to learn more about preparing a site for concrete work.
Preparing the soil
The soil you build your concrete slab on needs to be compacted and drained properly to ensure the best concrete slab results. Concrete is a porous material so drainage won’t be an issue. Otherwise, water under the concrete slab will cause stress cracks in the cement when the ground moves or flexes.
Take your time to prepare the subsurface to limit the risk of cracking/splintering in your finished concrete.
Create a stable foundation
A general rule of thumb when creating a solid foundation is to lay a 7-15 cm compact base. But if you are pouring a driveway and will be parking your RV, you may want to increase that to 10-12 inches for added strength and durability. If you have sandy soil, then you’re in luck. Just scrape off the sod and topsoil and add gravel fill if necessary.
For those who live in cold climates or have heavy clay soil, it’s also a good idea to create a base layer that’s 25-30 cm thick. Your local concrete supplier should be able to determine the right base depth for your applications.
Site preparation
The next step is to prepare the site. Start by driving four concrete stakes to indicate the corners of your slab. Use a line level and string to determine the slope of the ground. If your site is sloped, you will need plenty of soil to flatten it out. You might also need to build up a low section.
Create a box out of wood to allow the poured concrete to take shape. Choose straight form boards that are the appropriate size for your project. If you are pouring concrete for a shed or garage, 35mm x 240mm boards work pretty well. For a driveway or patio, 35mm x 140mm boards are ideal.
Use a builder’s level or a laser level to set the height of the forms. Poured concrete can bend your form boards out and ruin the intended shape you’re going for. Add strong supports by using 35mm x 90mm stakes and 35mm x 90mm kickers every two feet down the lengths of the forms. Keep in mind that your poured concrete will take the shape of this box so make sure to use a lot of care when executing this step.
Dig the ground and smooth it out
Next, dig the ground to the appropriate depth for your concrete slab. If you need to move a lot of dirt, then consider renting a skid loader or hiring an excavator to make things easier. Smooth out the ground with the flat side of a rake to keep it level and fill in the low sections with dirt.
Now it’s time to compact each layer of the base. Use a vibrating plate compactor and pass over the base three or four times. Then add another 5cm of base and go over the plate compactor once more. Make sure you use a compactor that’s specifically for base compacting. Compactors, such as rammers or jumping jacks, are for backfilling trenches and won’t do a good job when prepping poured concrete.
Dampen the base
A dry base is tough to compact so you want to dampen it first before doing so. This is especially important if you are working in dry conditions as you’ll want to spray each base layer with a hose so you can pack the soil lightly.
You can test to see if your base soil is damp enough by grabbing a handful and shaping it into a ball. You’ll know the soil is ready when it retains its shape when you open your hand. If it crumbles, you’ll need to add more water, but avoid over-dampening because that will not help your base either.
Tamp the base
Once you’re finished with dampening the base, the next step is to tamp it. You can use a hand tamper or a mechanical tamper that you can rent from your local hardware store.
Test the soil by walking across it. You’ll know you’ve packed the base enough when you barely leave any footprints in the soil.
Add gravel
Gravel is especially important in clay soil because of drainage issues, which results in water pooling under the concrete slab and slowly eroding the soil as it drains. To prevent this, add around 5cm of gravel to form a solid base that’s sturdy and drains easily. Ideally, the gravel should contain gravel dust as this helps bind the stones even further.
Compact the gravel using a hand tamper or a mechanical tamper so that it’s flat and smooth. Check the level afterwards.
Pouring concrete
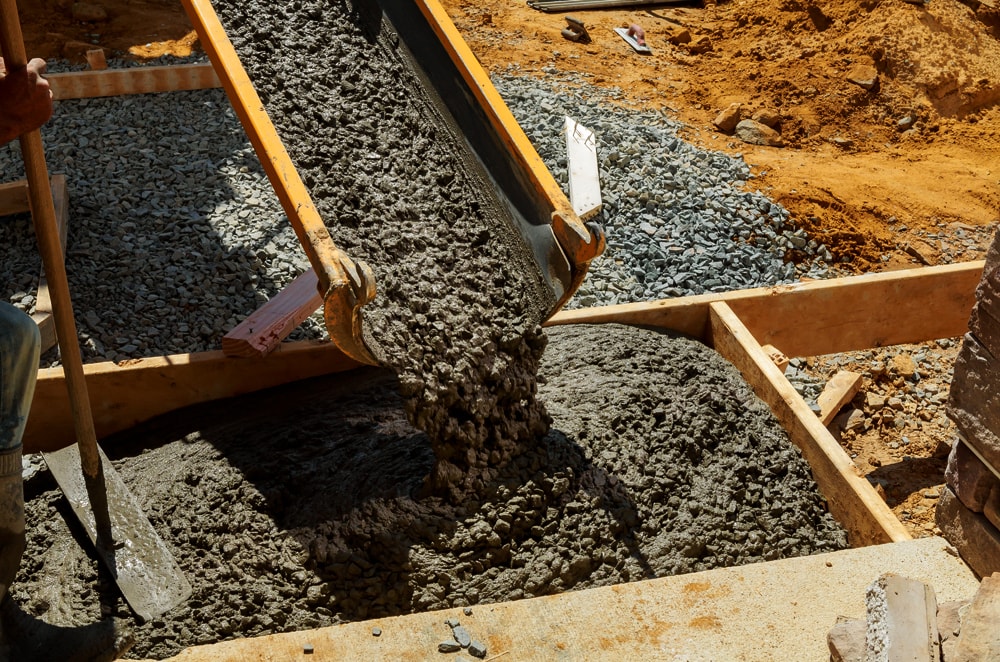
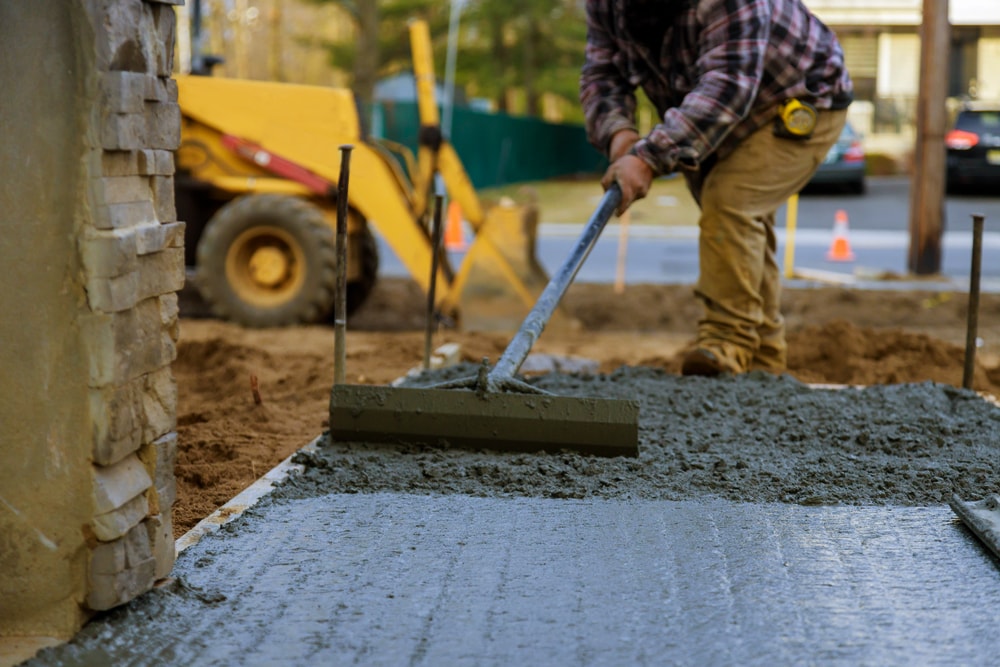
After all that hard work, you’ve come to the final step which is pouring the concrete itself. Start by placing concrete in the concrete forms farthest from the truck. You may need to use heavy-duty wheelbarrows for large projects. Pour the concrete as close to the base as possible. Use a rake to level the concrete and continue until your form is complete. Use a bull float to round the edges and finish the look of the concrete. The only thing that’s left is to smooth the entire surface with a trowel and wait for your poured concrete to dry.


